Schedule email sending in Outlook
Outlook Web Access (OWA)
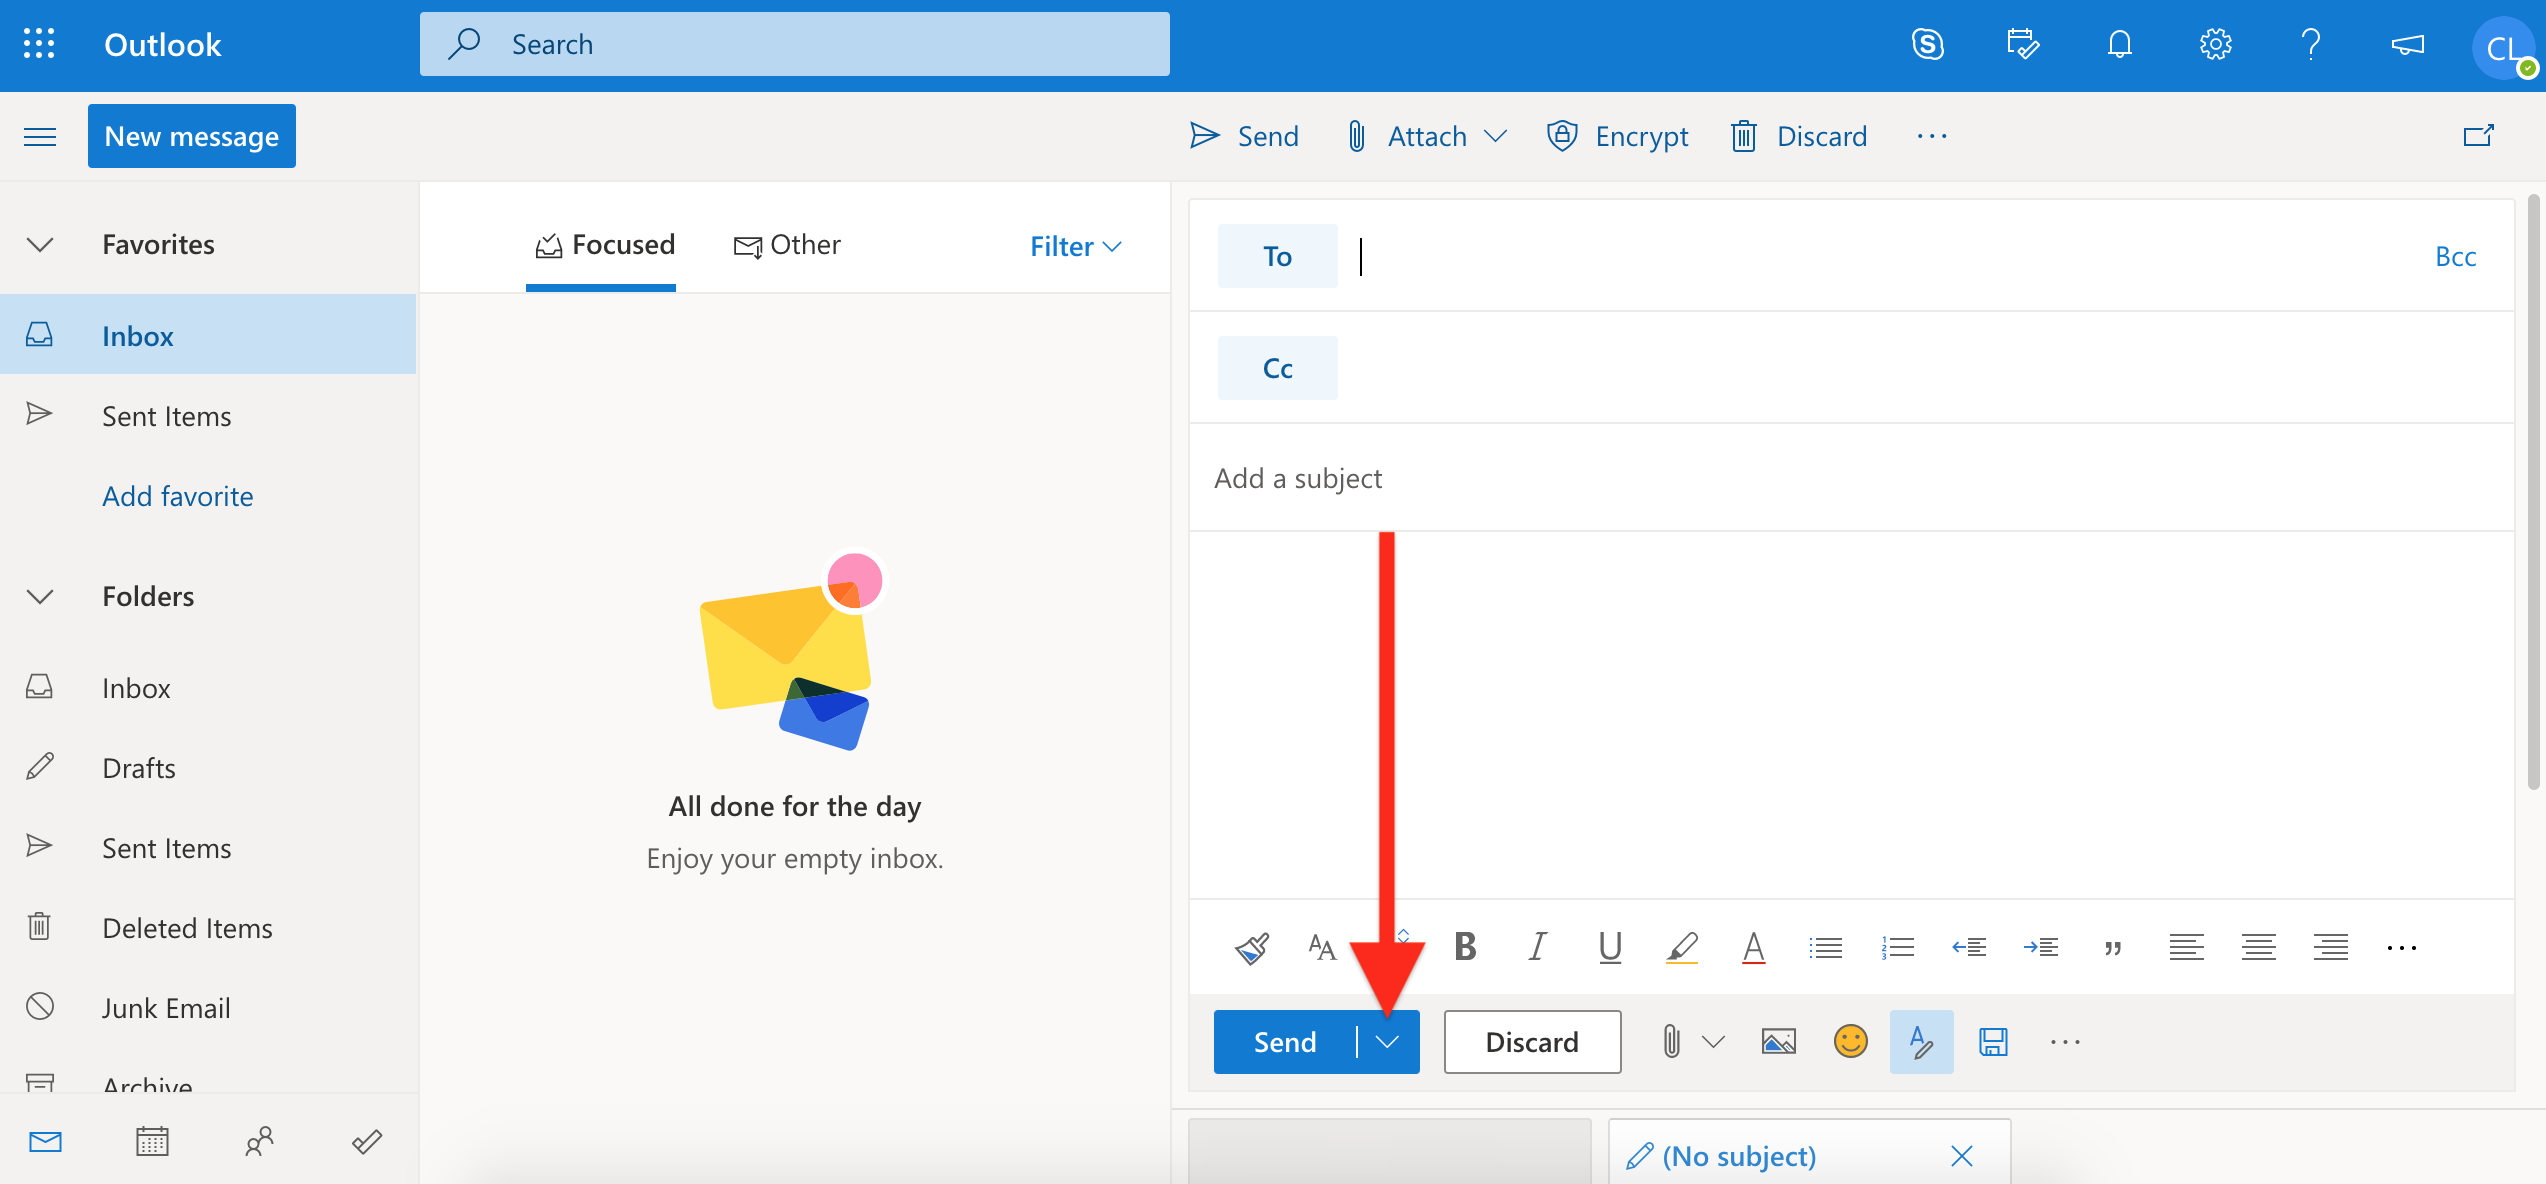
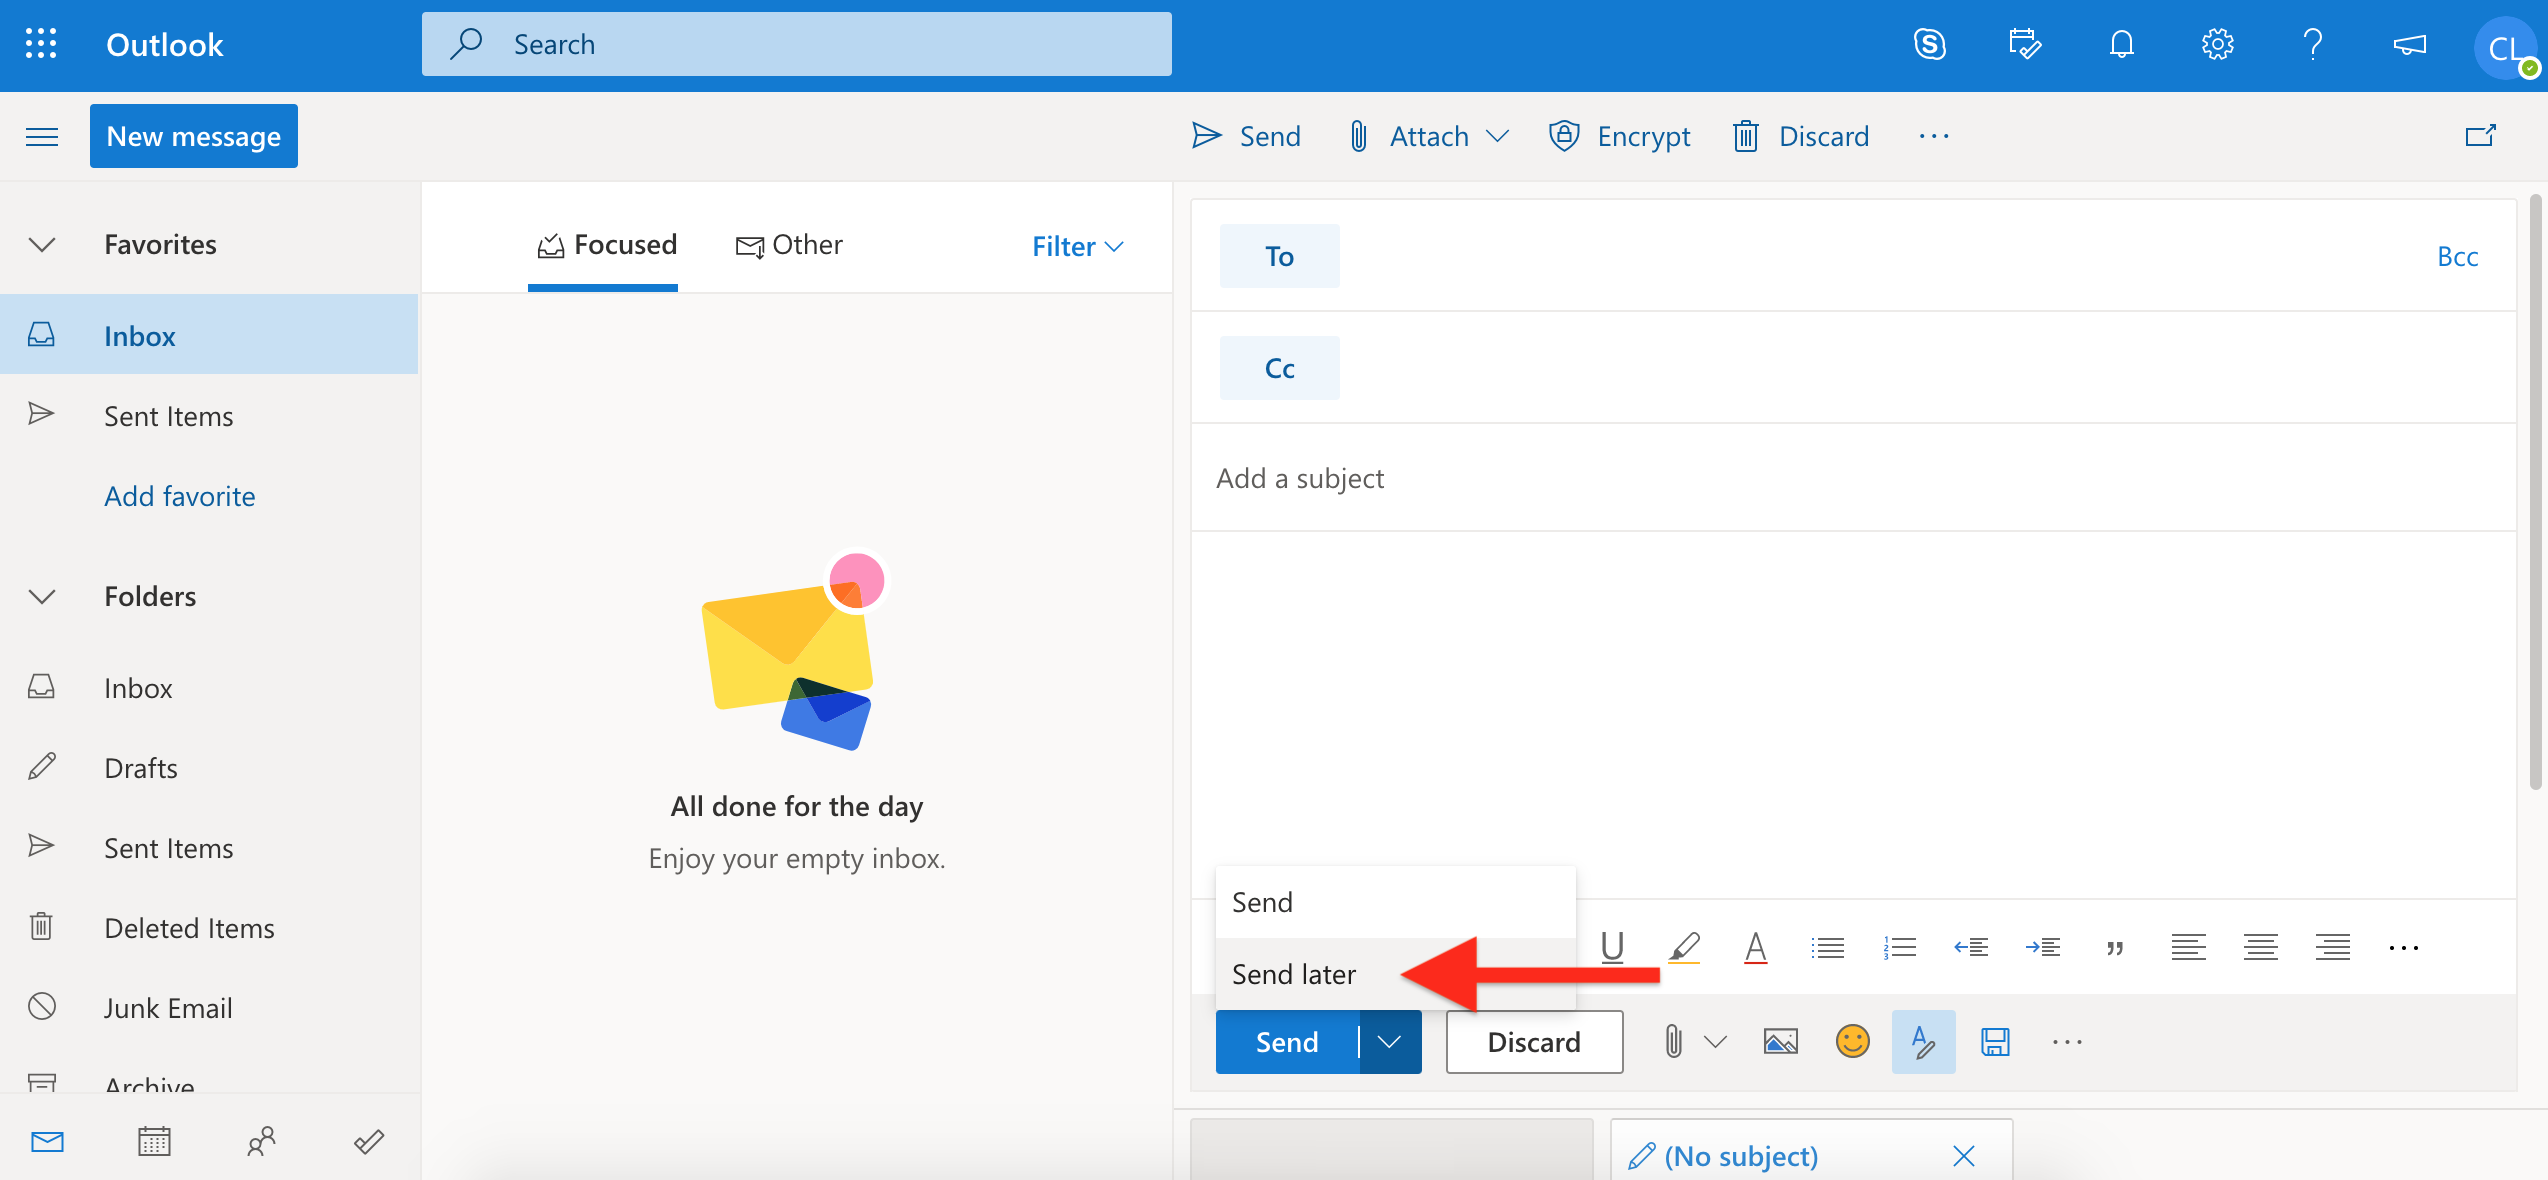
- After writing your message, click the v button beside Send.
- Press Send later.
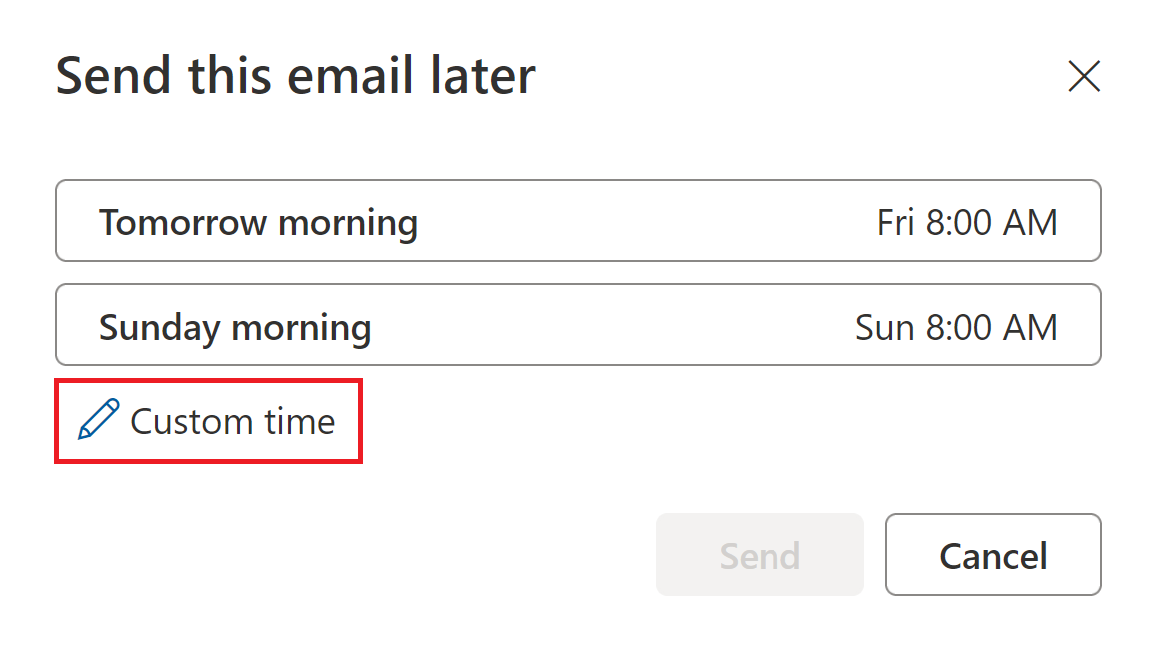
- Select Custom Time.
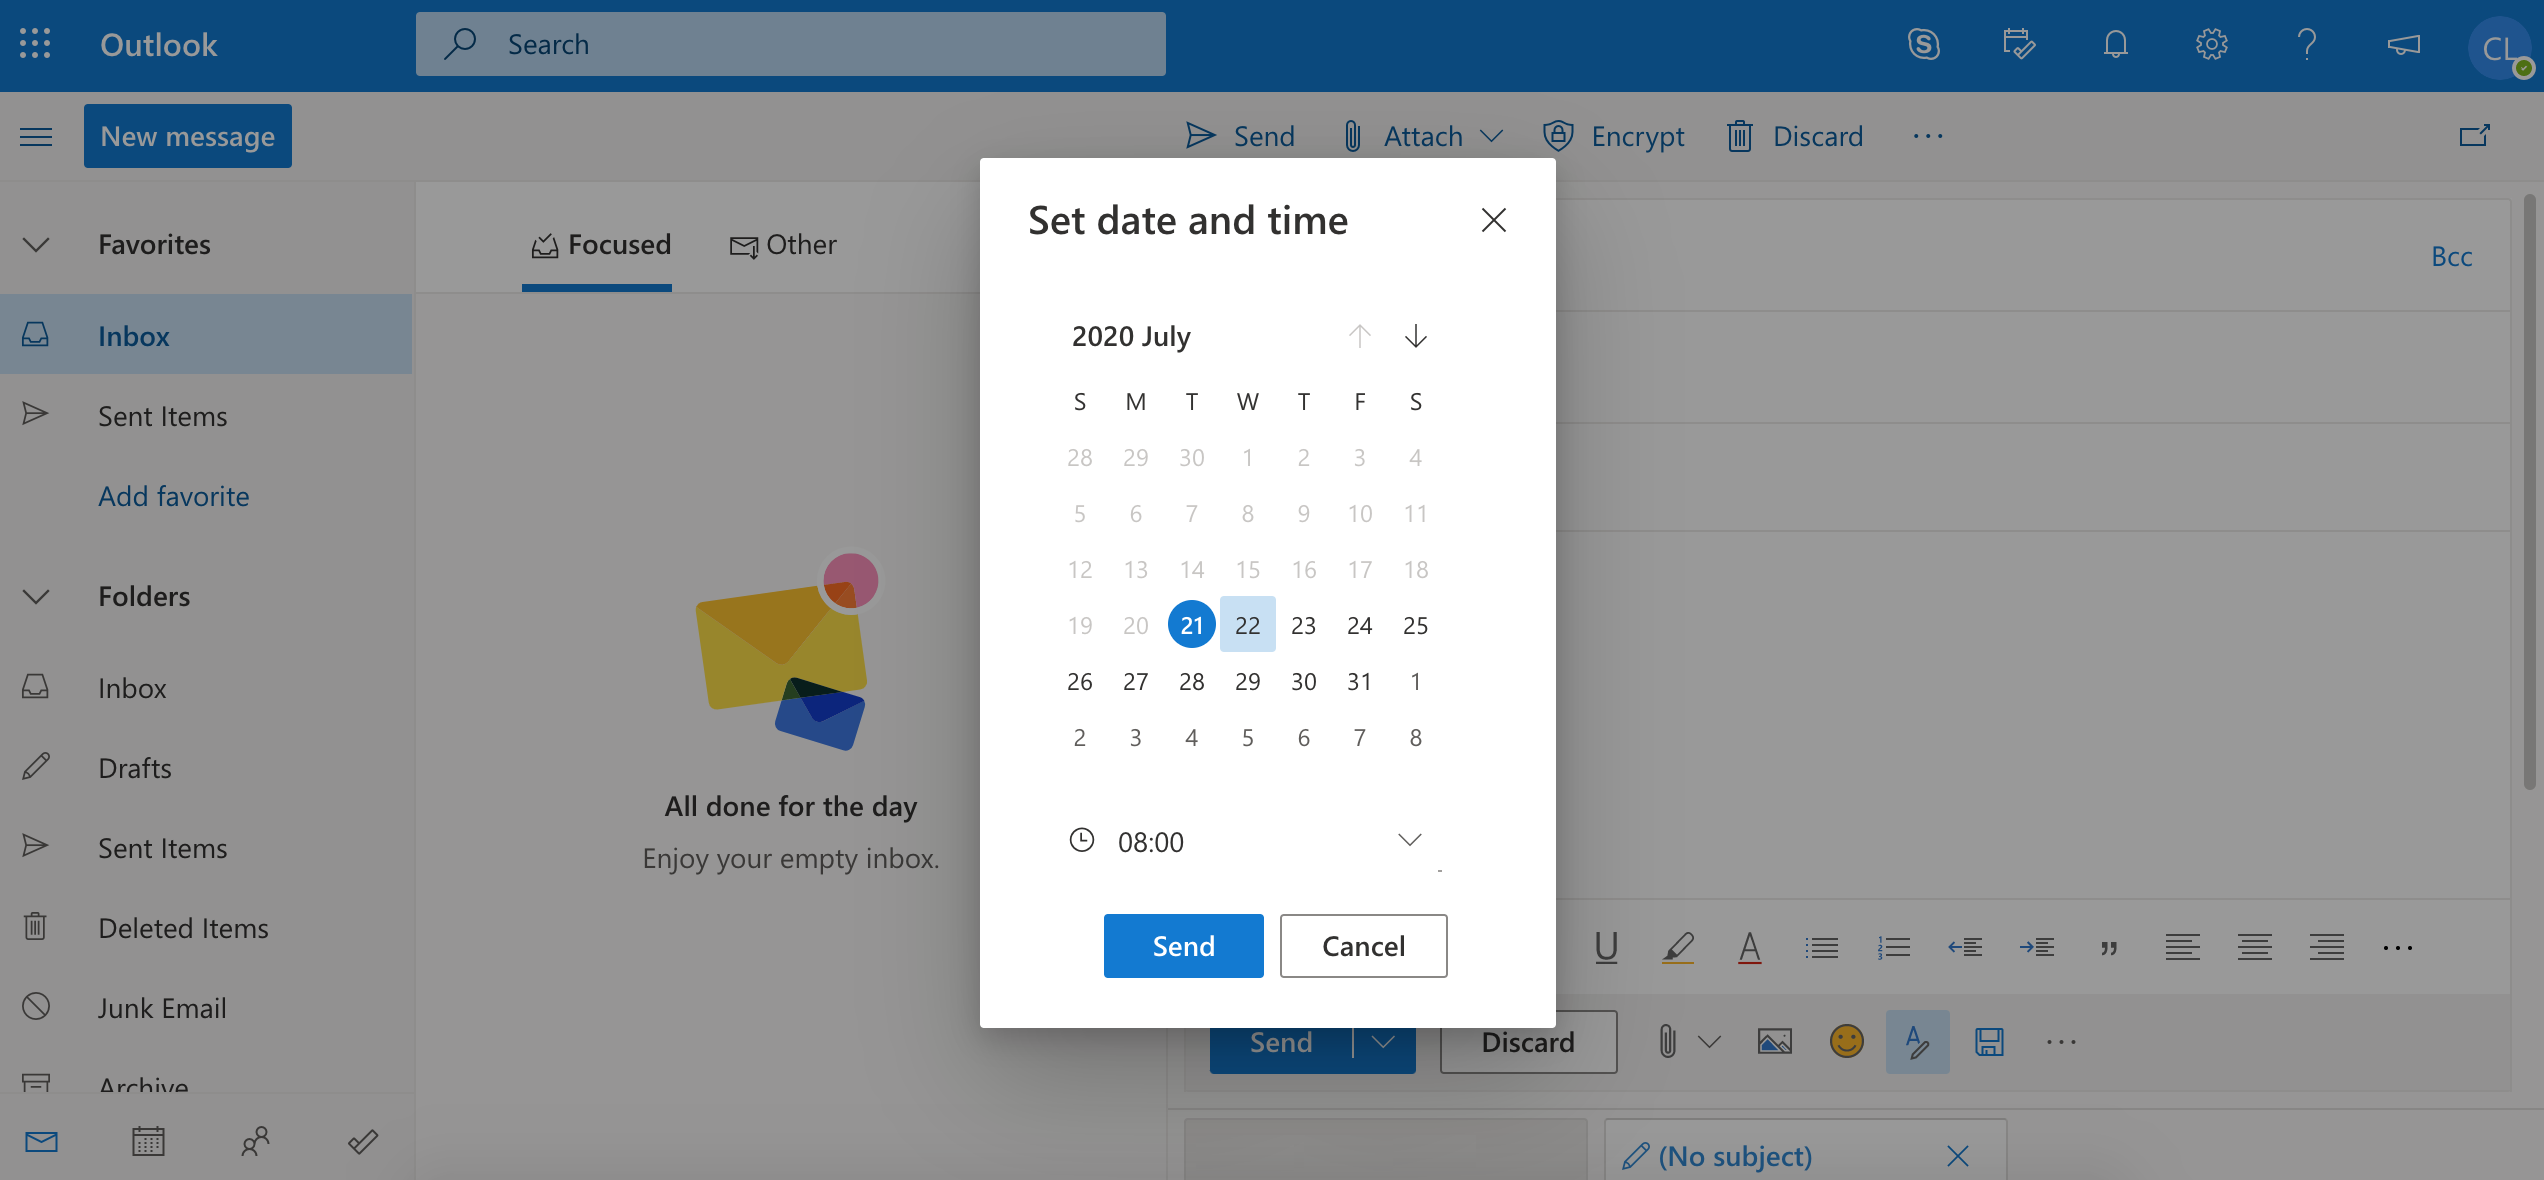
- Choose the date and time you want your message to be delivered. Click Send. Your message will stay in your Drafts folder until the scheduled sending time.
- If you want to edit your message or change the delivery time, see your Drafts folder. Click on the message and press Cancel Send. You will have to re-schedule your message by repeating the steps above.
Outlook for Windows
- In the message, click the Options tab.
- In the More Options group, click Delay Delivery.
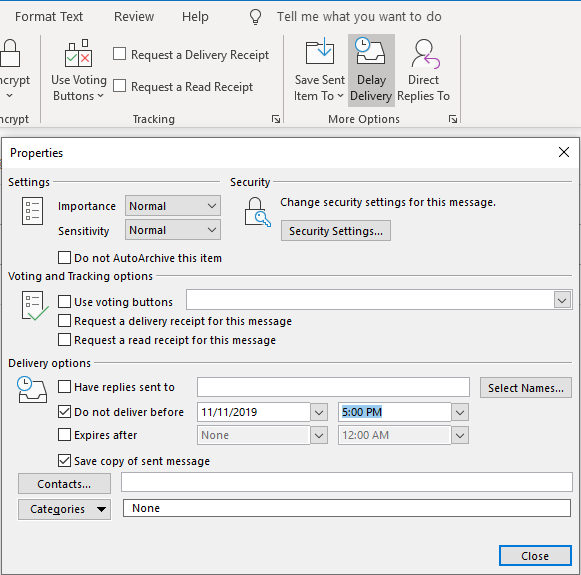
- Under Delivery options, check the box for Do not deliver before, and select a date and time.
- After you click Send, the message remains in the Outbox folder until the delivery time.
Outlook for Mac
- Click on New Message.
- Address and compose your message.
- Click on the arrow beside the Send icon and choose Send Later.
- Set the date and time for the message to be sent. Click OK. It will remain in your Outbox until the selected time.